Connect a Wallet
Connect a Wallet
Section titled “Connect a Wallet”Wallets are the primary data source for CryptaCount. When you connect a wallet address, the platform fetches the complete on-chain transaction history and begins classifying, pricing, and journaling every event.
CryptaCount supports three types of wallet connections:
| Type | Purpose |
|---|---|
| Wallets (on-chain) | Addresses you control — full sync, classification, and journal generation |
| External Wallets | Third-party addresses (counterparties, exchange hot wallets) — for labeling and reconciliation, no sync |
| CEX Connections | Centralized exchange accounts via API key or CSV import |
This guide covers adding an on-chain wallet. See the User Manual for External Wallets and CEX Connections.
Step 1: Navigate to Wallets
Section titled “Step 1: Navigate to Wallets”Go to Main → Wallets in the sidebar and click Add Wallet.
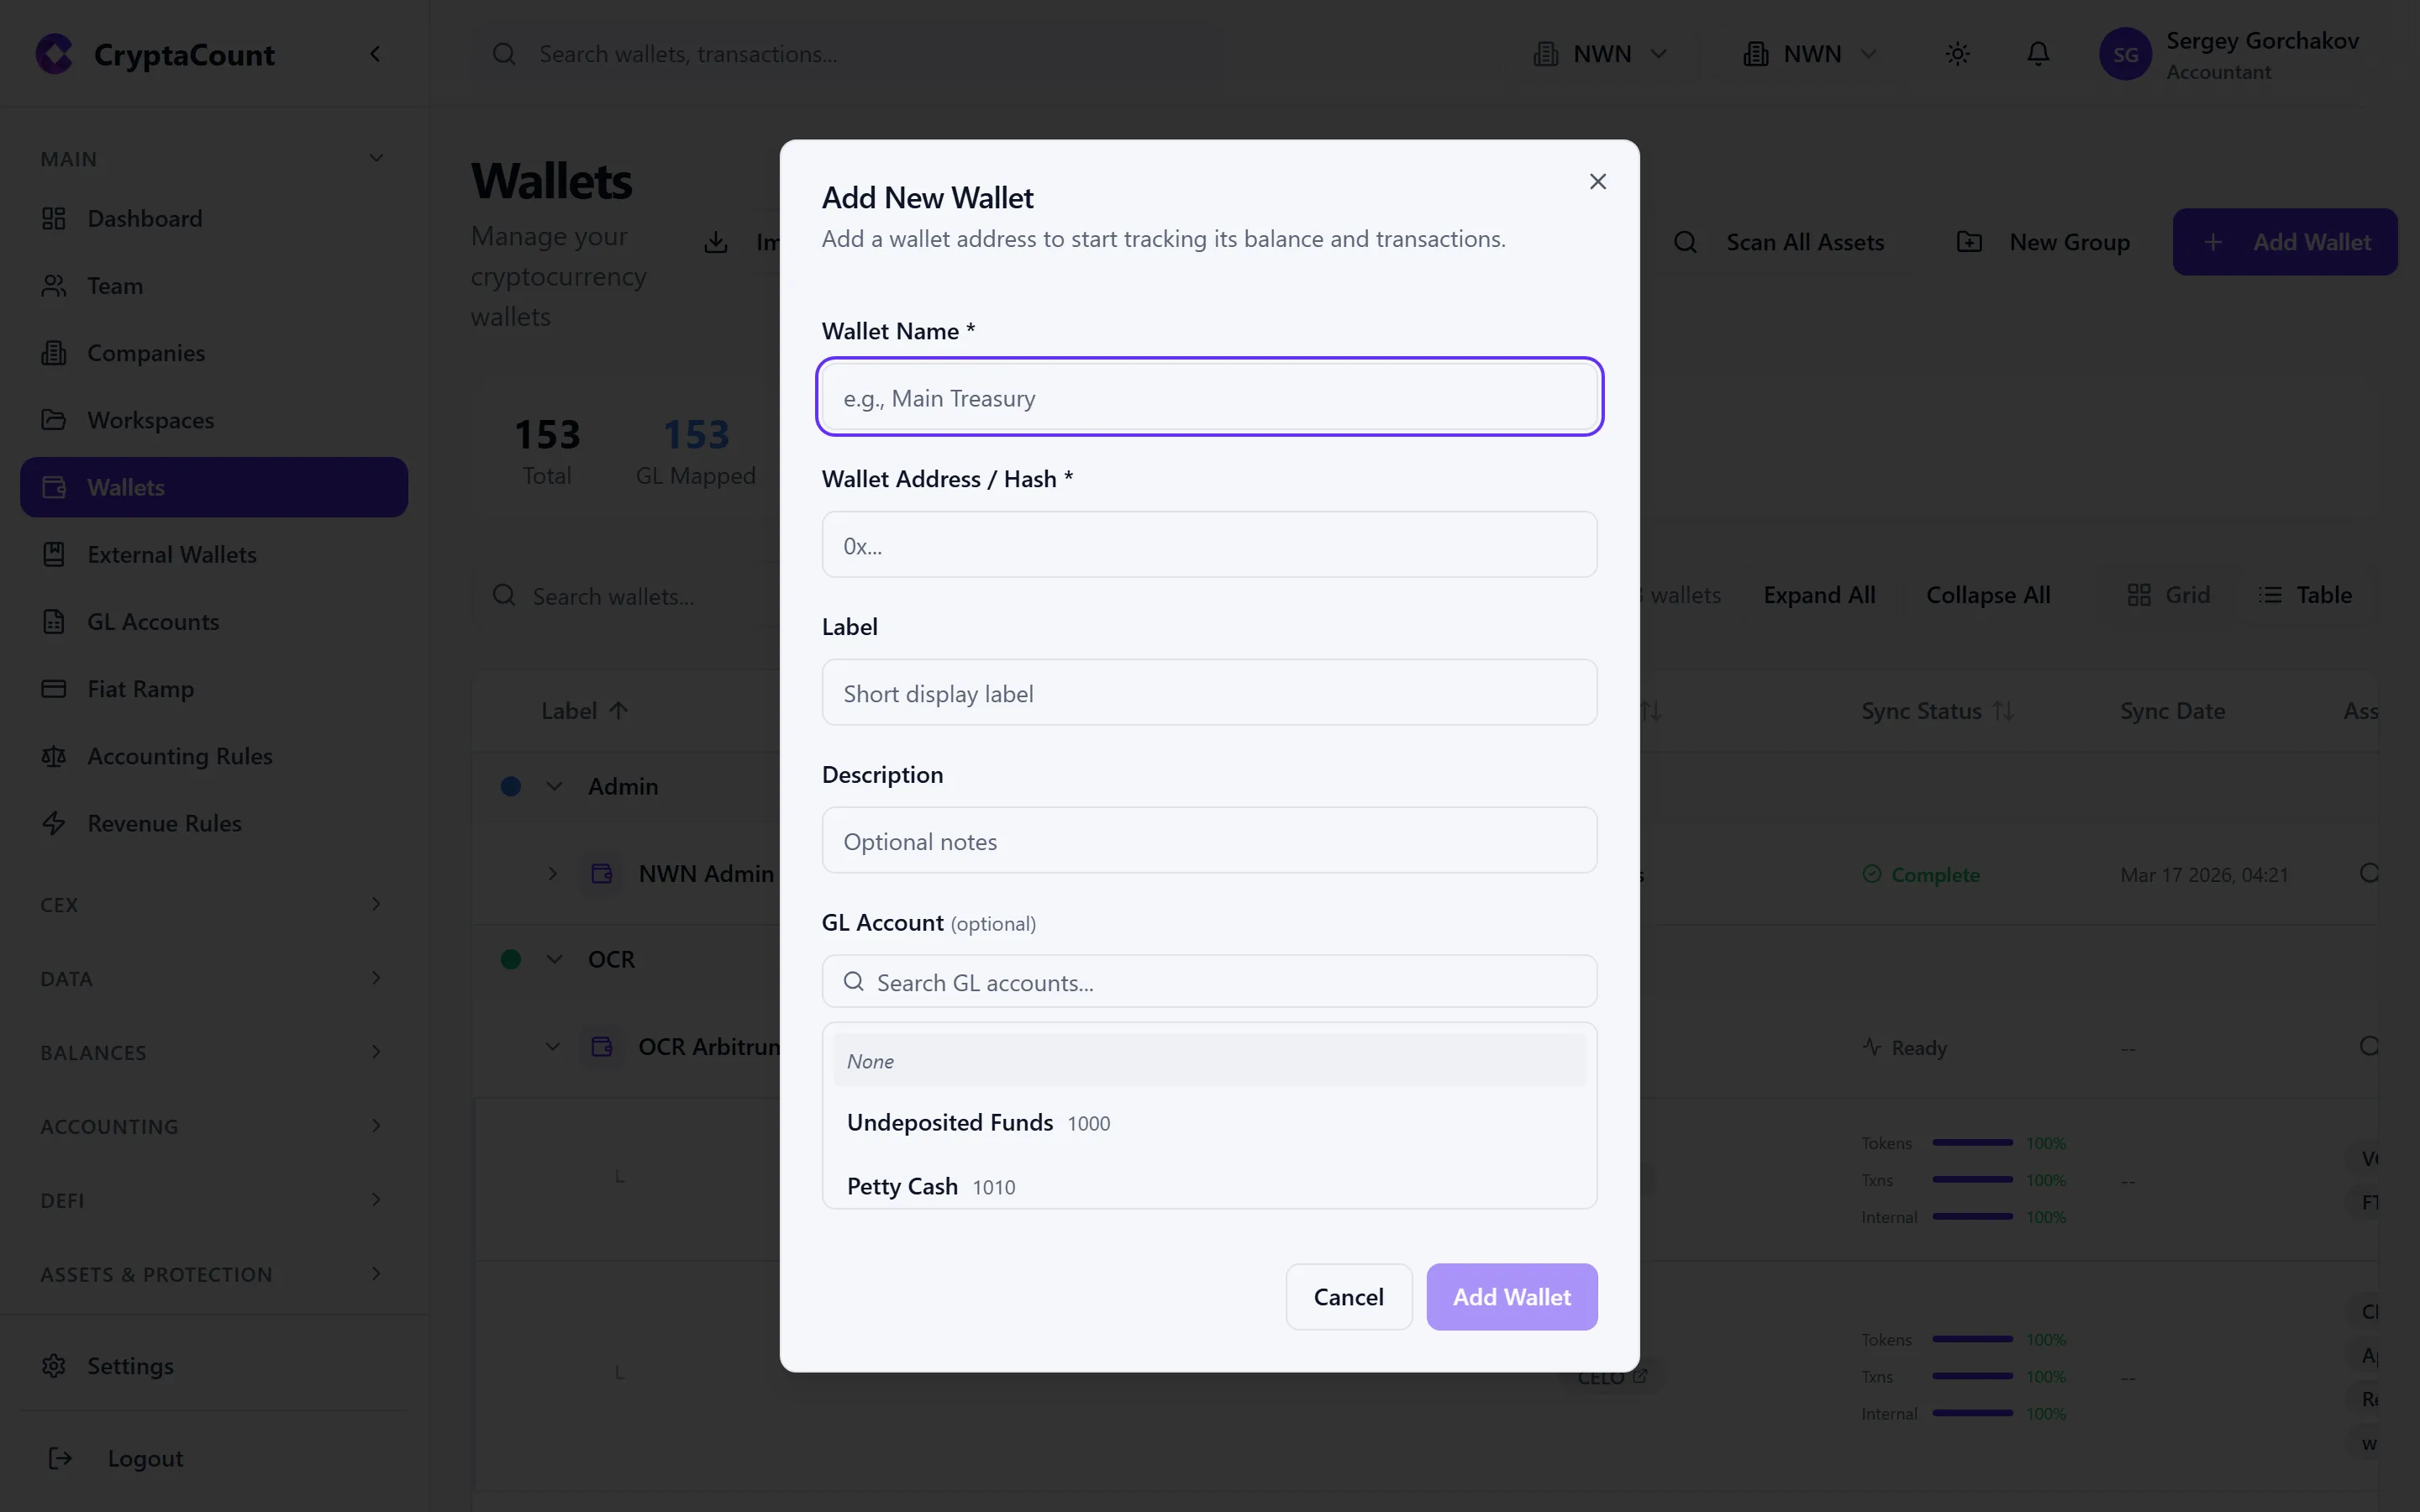
Step 2: Enter the Wallet Address
Section titled “Step 2: Enter the Wallet Address”Paste the full wallet address. CryptaCount auto-detects the address type based on the format and validates it accordingly.
Supported Address Types (21 types)
Section titled “Supported Address Types (21 types)”EVM — Addresses starting with 0x. Works across Ethereum, Polygon, BNB Chain, Arbitrum, Optimism, Base, Avalanche C-Chain, Fantom, Gnosis, Linea, Scroll, zkSync, Celo, Metis, Astar, and other EVM-compatible networks.
Bitcoin — Four address formats supported:
- Legacy (
1...) - P2SH (
3...) - SegWit (
bc1q...) - Taproot (
bc1p...)
Other chains:
| Address Type | Example Prefix | Chain |
|---|---|---|
| Solana | Base58 (no 0x) | Solana |
| TRON | T... | TRON |
| XRP | r... | XRP Ledger |
| Cardano | addr1... | Cardano |
| Cosmos | cosmos1... | Cosmos Hub |
| TON | EQ... / UQ... | TON |
| Polkadot | 1... (SS58) | Polkadot |
| Stellar | G... | Stellar |
| NEAR | *.near or implicit | NEAR |
| Aptos | 0x... (64 hex) | Aptos |
| SUI | 0x... (64 hex) | SUI |
| StarkNet | 0x... (64 hex) | StarkNet |
| Hedera | 0.0.* | Hedera |
| Avalanche X | X-avax1... | Avalanche X-Chain |
| Avalanche P | P-avax1... | Avalanche P-Chain |
Step 3: Add a Label and Select Chains
Section titled “Step 3: Add a Label and Select Chains”Label — Give the wallet a name for easy identification (e.g., “Company Hot Wallet”, “Treasury ETH”, “Staking Rewards”). Labels appear throughout the platform.
Chains — For EVM addresses, CryptaCount can scan the same address across multiple chains. Select which networks to include. You can scan for active chains later using the Scan Chains feature.
Step 4: Start Sync
Section titled “Step 4: Start Sync”Click Add Wallet (or Connect) to begin syncing. The platform will:
- Fetch all native transactions (ETH, MATIC, BNB, etc.) from the first recorded block
- Fetch all token transfer events (ERC-20 and equivalents) separately
- Fetch internal transactions where applicable
- Classify each transaction by type (transfer in/out, swap, staking reward, DeFi interaction, etc.)
- Fetch fair market value for each asset at each transaction timestamp
Sync Progress
Section titled “Sync Progress”The sync status indicator shows real-time progress:
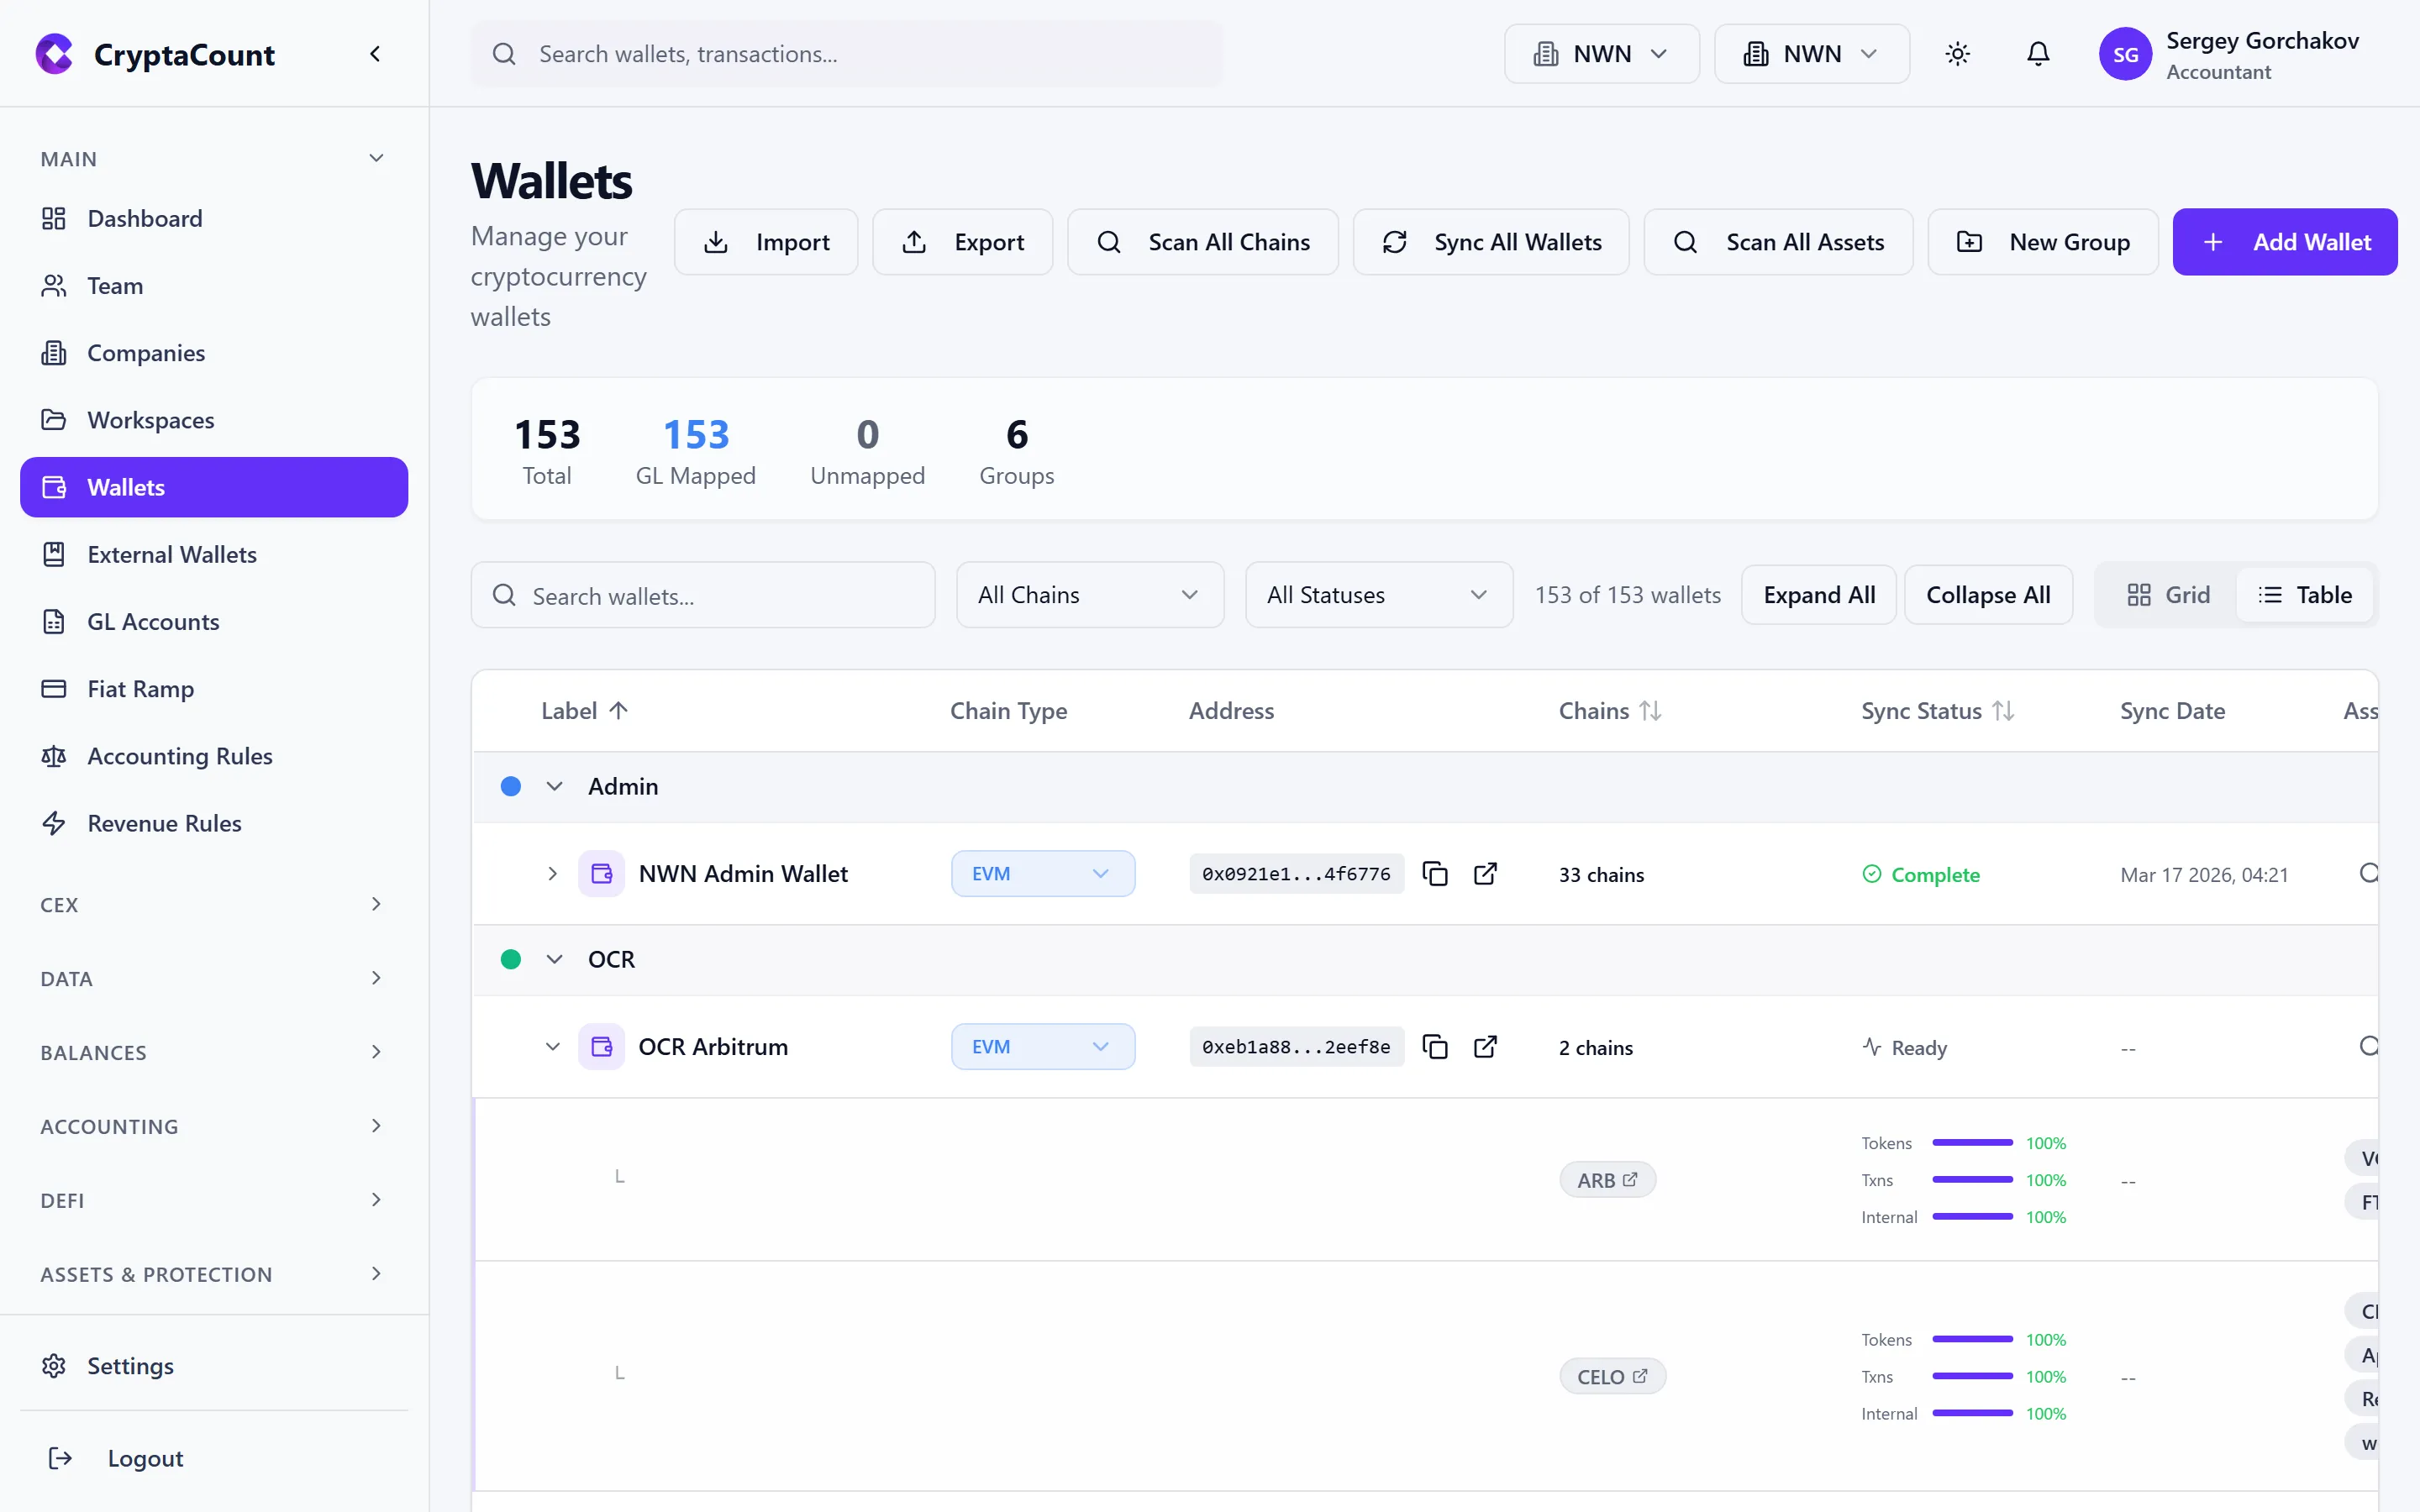
- Syncing — Data is being fetched from the blockchain (shows block progress)
- Processing — Transactions are being classified and priced
- Synced — All data is up to date
- Error — Something went wrong (click for details)
Step 5: Review Transactions
Section titled “Step 5: Review Transactions”Once sync completes, go to Transactions → Review to see all discovered activity. Check that:
- Transaction count looks reasonable for the wallet’s age and activity
- Transaction types are classified correctly (transfers, swaps, staking rewards, etc.)
- Balances align with what you see on a block explorer (Etherscan, etc.)
If something looks off, see the Sync & Connectivity troubleshooting guide.
Wallet Groups
Section titled “Wallet Groups”Organize wallets into groups for cleaner reporting. Create groups from the Wallets page and drag wallets into them. Each group can have a default GL account assigned, which is inherited by all wallets in the group.
External Wallets
Section titled “External Wallets”Navigate to Main → External Wallets to track third-party addresses. These are addresses you don’t control — counterparty wallets, exchange deposit addresses, or partner addresses. External wallets are used for:
- Labeling counterparties in transaction review
- Reconciliation (matching internal transfers to known external addresses)
- Converting to internal wallets later if you gain control of the address
CEX Connections
Section titled “CEX Connections”Navigate to Main → CEX Accounts to connect centralized exchanges. You can:
- API connection — Enter your exchange API key and secret for automatic trade history sync
- CSV import — Upload transaction history files from supported exchanges
- Generic CSV — Import any exchange data using a standardized template
- Excel / PDF — Upload Excel or PDF statements for parsing
CEX transactions are managed separately from on-chain wallets and have their own GL mapping, transfer matching, and journal posting workflows.
Spam Token Handling
Section titled “Spam Token Handling”After syncing an EVM wallet, you may see unfamiliar tokens. CryptaCount automatically detects spam tokens and hides them by default, but they remain in your data. You can review and override spam classifications in Settings → Asset Registry.